DS Global
Major Equipment
We will continue to achieve technological innovation through relentless research alongside our highly experienced engineers. We are dedicated to enhancing our customers’ future value and striving to become a sustainable partner.
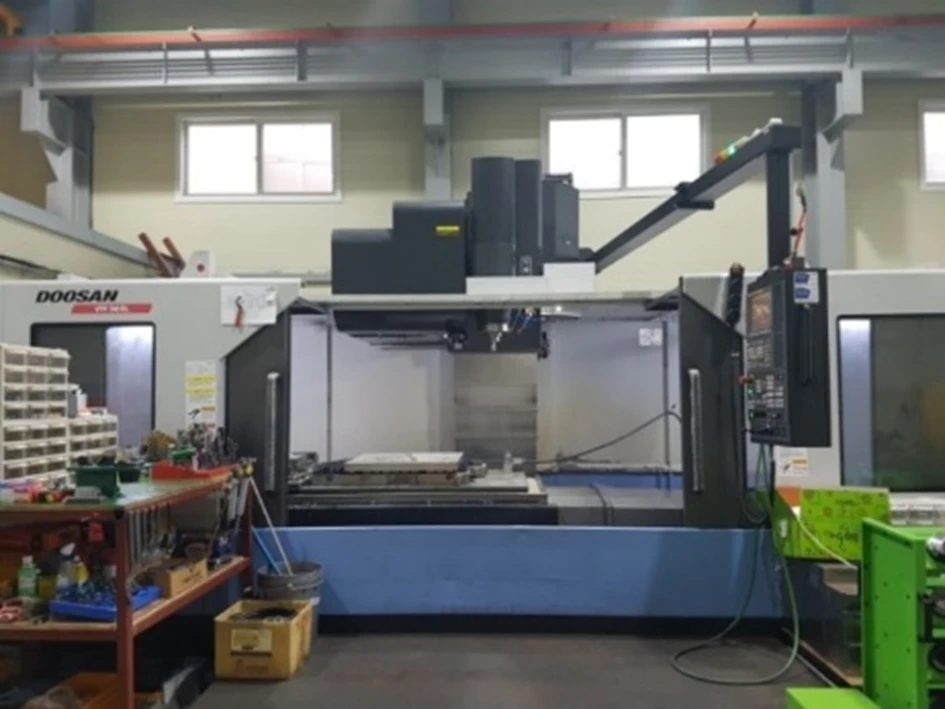
MCT
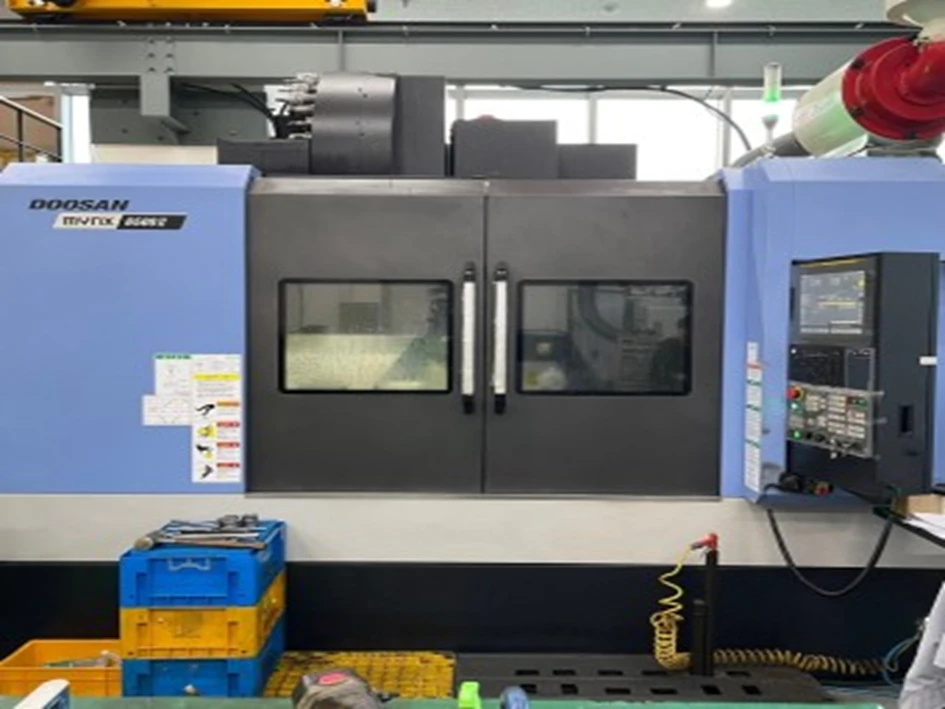
MCT
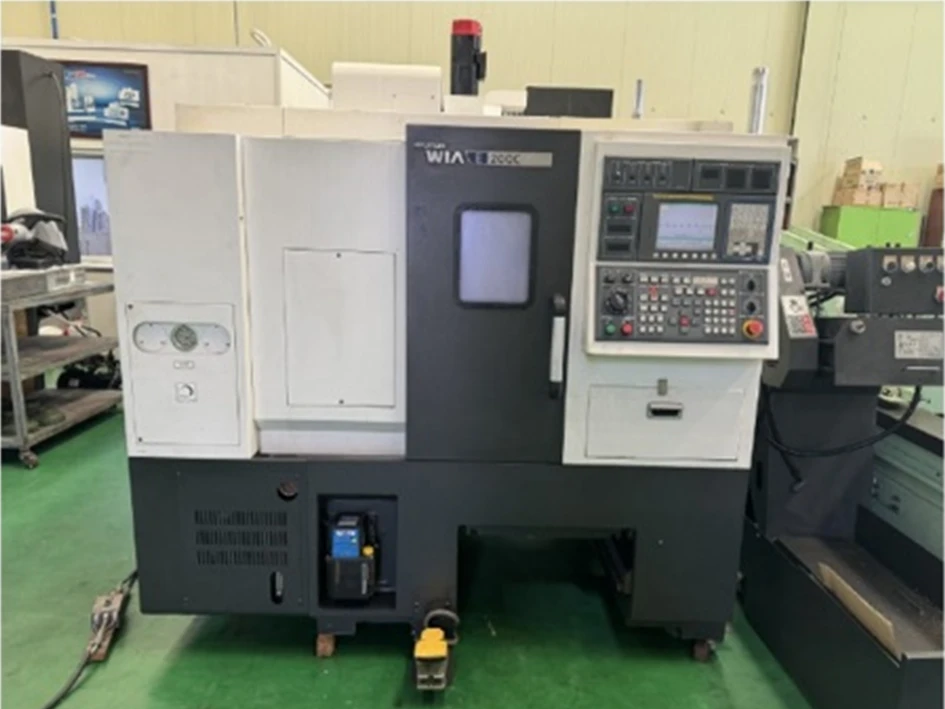
CNC
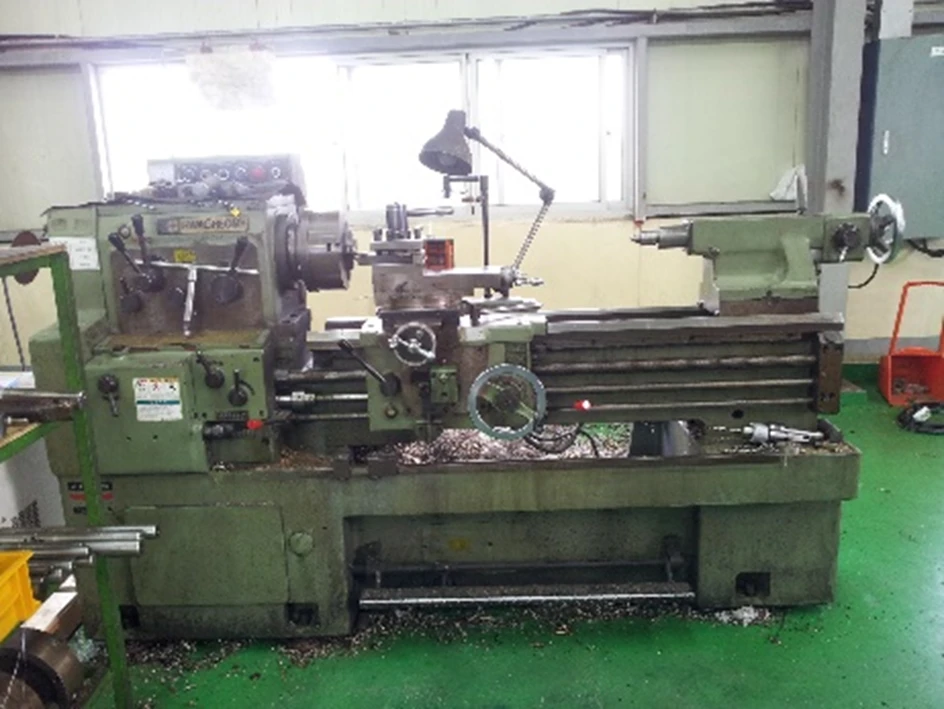
Lathe
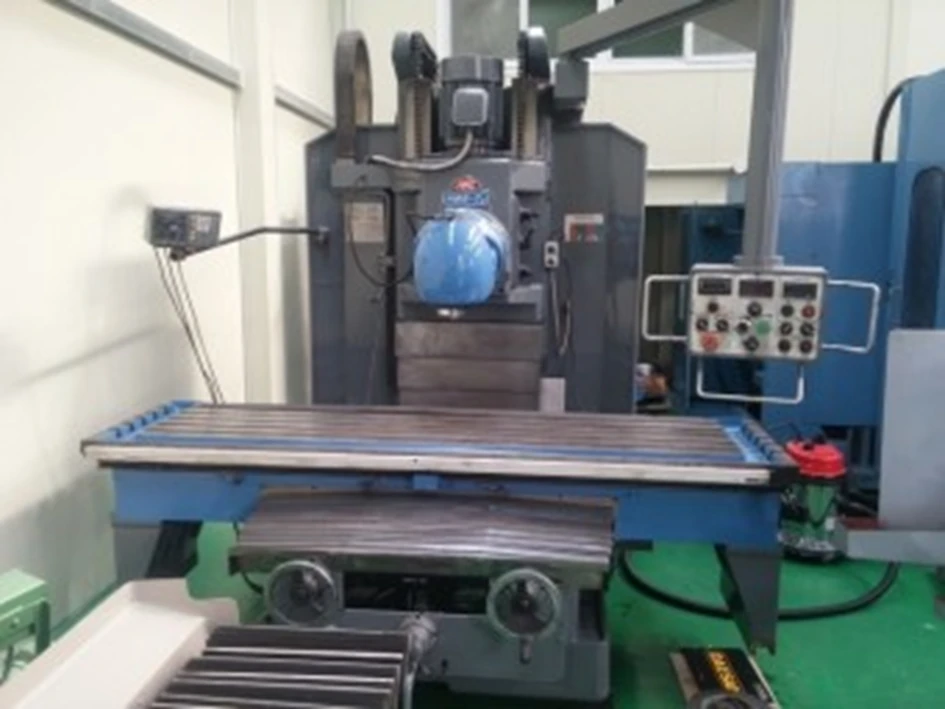
Milling machine
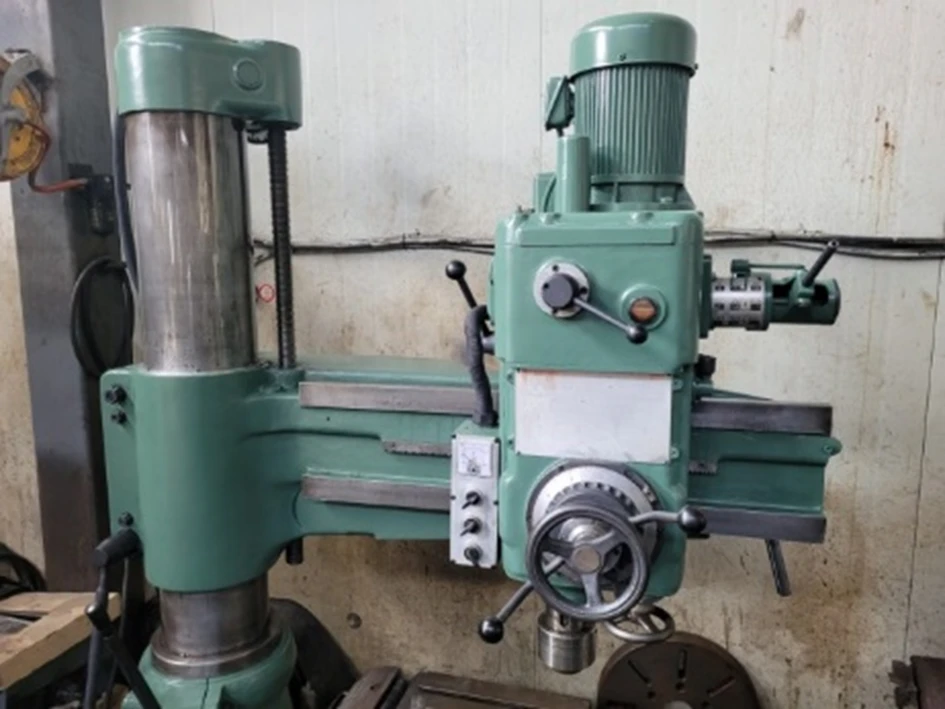
Radial drilling machine
| NO | DESCRIPTION | MODEL | CAPACITY | Q’ty |
|---|---|---|---|---|
| 1 | Machining center | Hyundai-wia KG-800 | 1400 x 1050 x 1200 | 1 |
| 2 | Machining center | Hitachi HC-500 | 500 x 700 x 750 | 1 |
| 3 | Machining center | Mazak H-630 | 1050 x 850 x 850 | 1 |
| 4 | Boring Machine | Doosan infracore 130T | 3000 x 2000 x 800 | 1 |
| 5 | Boring Machine | Daewoo DBC-130S | 2000 x 1500 x 900 | 1 |
| 6 | Boring Machine | Toshiba BTD-11E | 2000 x 1600 x 600 | 1 |
| 7 | Turning machine | OM TM2-25N | Ø2500 | 1 |
| 8 | CNC | Toshiba TMD13 | Ø1200 | 2 |
| 9 | CNC | Doosan PUMA VT900M | Ø900 | 1 |
| 10 | CNC | Doosan PUMA V550A | Ø740 | 1 |
| 11 | CNC | Doosan VT1620M | Ø2000 | 1 |
| 12 | Radial drilling machine | Nambug 1600 | 1600mm | 1 |
| 13 | Milling machine | Namsung NSM-9100 | 800mm | 1 |
| 14 | Milling machine | Hwacheon HMV-1300 | 800mm | 1 |
| 15 | Lathe | Hwacheon HL580-1500 | Ø600 | 1 |
| 16 | Lathe | TONG-IL TIPL-4 | Ø1060 | 1 |
| 17 | Compressor | – | 200L | 1 |
| 18 | Crane | – | Max. 20ton | 1 |
| 19 | Crane | – | Max. 10ton | 1 |
| 20 | Crane | – | Max. 5ton | 1 |
| 21 | Crane | – | Max. 3ton | 1 |
| 22 | Crane | – | Max. 2.5ton | 1 |
| 23 | Crane | – | Max. 1ton | 1 |
| 24 | Shot Blast Machine | WRH-2025 | 3000 x 3500 | 1 |
| 25 | Painting booth | – | 200m2 | 1 |
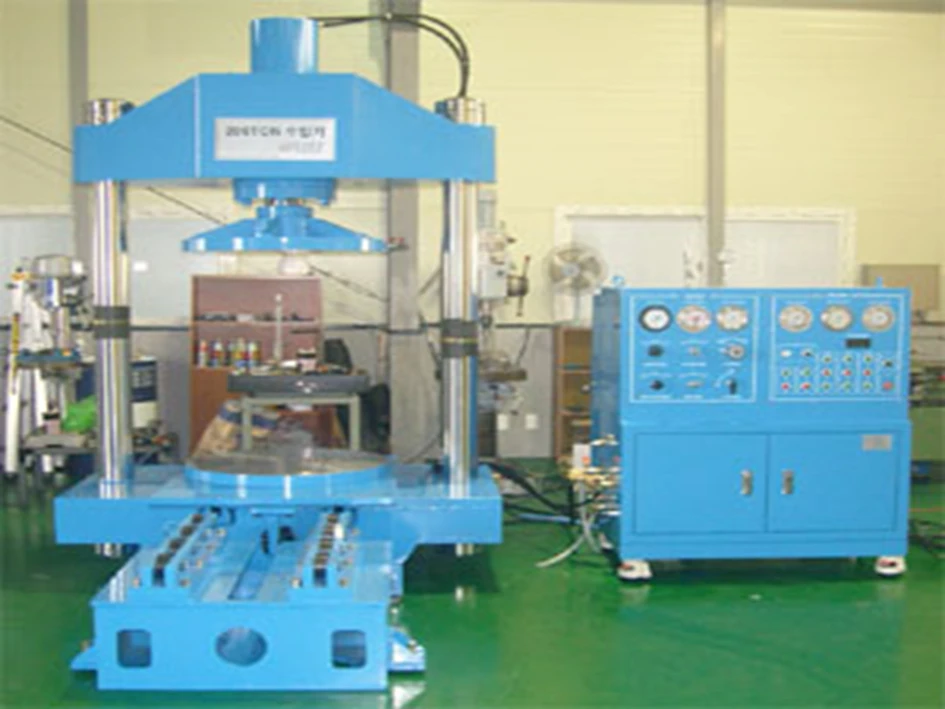
Hydraulic Test M/C
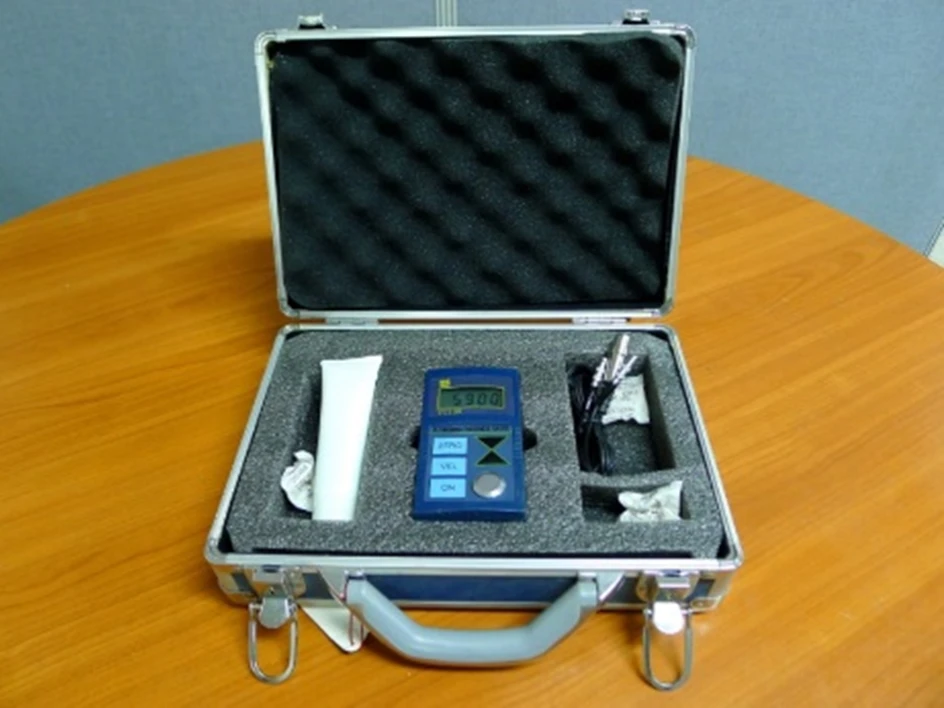
Ultrasonic Thickness Gauge

P/Thickness Gauge
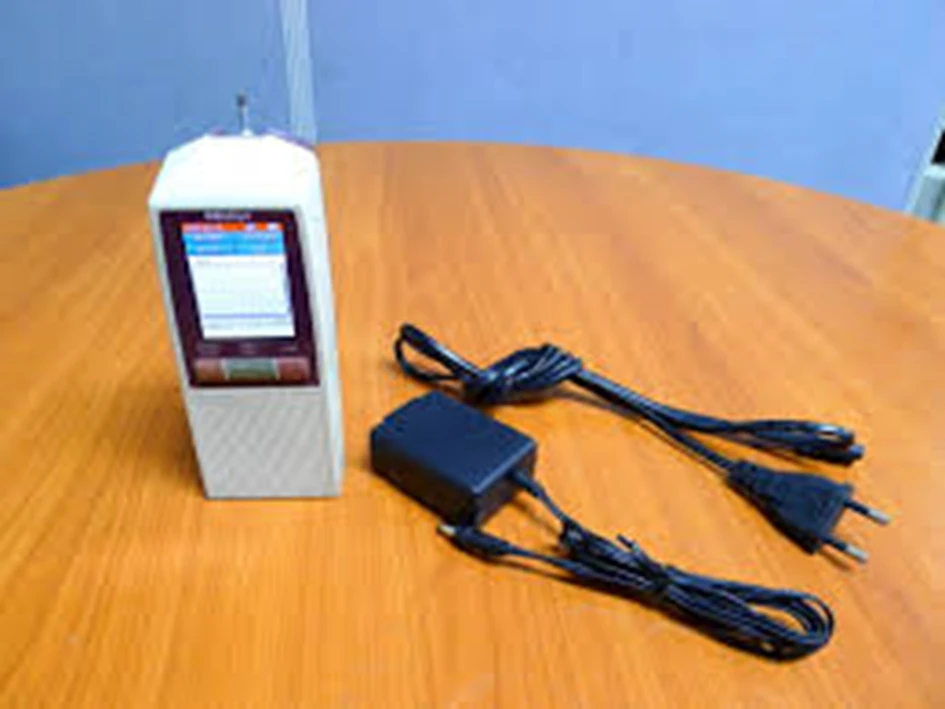
Surface Roughness tester
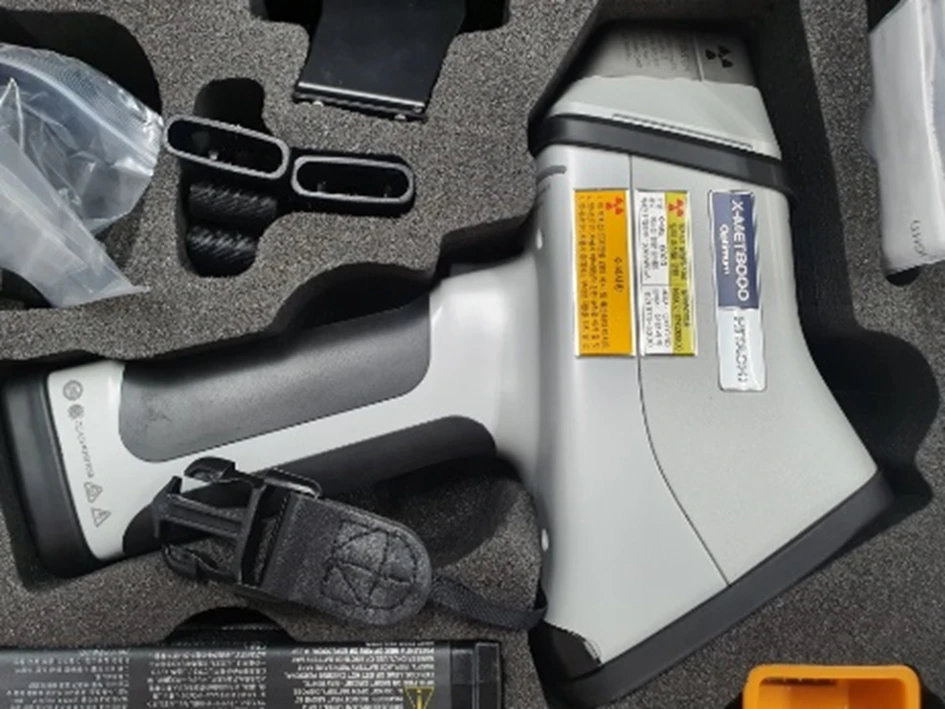
Portable PMI
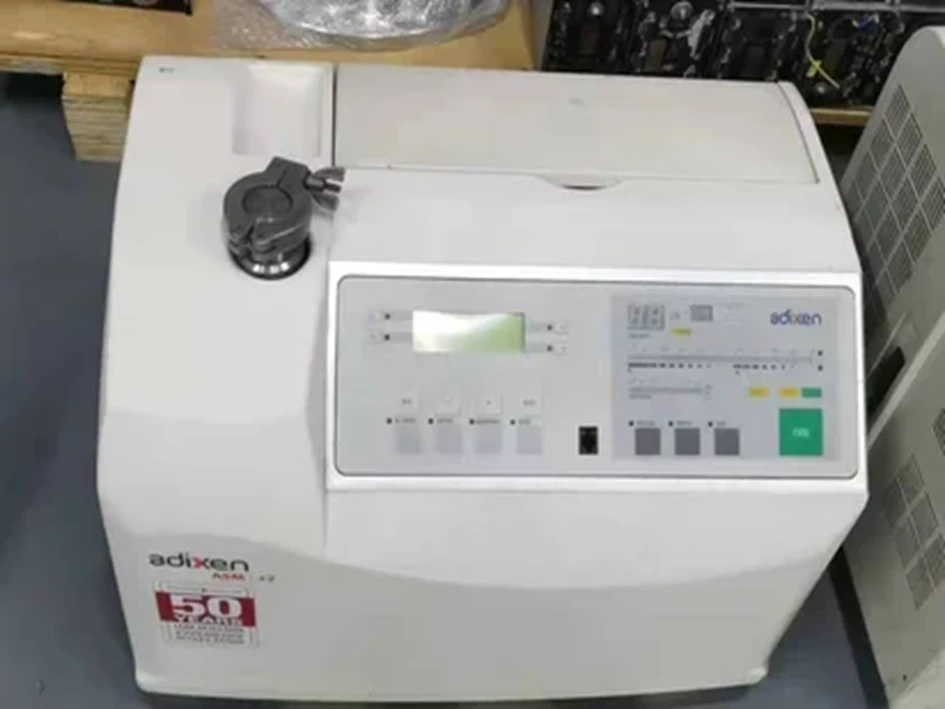
Helium Leak Detector
| NO | DESCRIPTION | MODEL | CAPACITY | Q’ty |
|---|---|---|---|---|
| 1 | Hydraulic Test M/C (400㎏f/㎠) | Sungwoo | 50A ~ 300A | 1 |
| 2 | Hydraulic Test M/C (158㎏f/㎠) | Sungwoo | 300A ~ 600A | 1 |
| 3 | Hydraulic Test M/C (110㎏f/㎠) | Sungwoo | 400A ~ 1000A | 1 |
| 4 | Pressure Gauge | WIZE | 0.5MPa ~ 100MPa | 15 |
| 5 | Torque Wrench | TOHNICH | 196N·m ~ 2100N·m | 3 |
| 6 | Vernier calipers | Mitutoyo | 150mm ~ 2000mm | 6 |
| 7 | In/Outside Micrometer | Mitutoyo | 200mm ~ 1000mm | 4 |
| 8 | Height Gauge | Mitutoyo | 150mm ~ 600mm | 4 |
| 9 | Depth Gauge | Mitutoyo | 0~200mm | 1 |
| 10 | Ultrasonic Thickness Gauge | Time – TT100 | 2mm ~ 200mm | 1 |
| 11 | P/Thickness Gauge | Elcometer | 0 ~ 1500μm | 2 |
| 12 | Durometer shore durometer | TECLOCK | Type “A” & Type “D” | 2 |
| 13 | Leeb Hardness tester | TIME | TIME5370 | 1 |
| 14 | Surface Roughness tester | Mitutoyo | SJ210 | 1 |
| 15 | Light meter | BENETECH – GM1010 | 0~200000 lux | 1 |
| 16 | AC Clamp meter | HIOKI | 3280-10F | 1 |
| 17 | Portable PMI Analyzer | Hitachi | X-MET 8000 | 1 |
| 18 | Helium Leak Detector | ALCATEL | ASM 142D | 1 |
| 19 | Pressure Recorder(Digital Type) | Hanyoung | 0~10MPa | 1 |
| 20 | Temperature Recorder | Hanyoung | GR100 | 1 |
| 21 | Variable area gas flowmeter | Dwyer | 500ml ~ 10000ml | 3 |
STEP 1
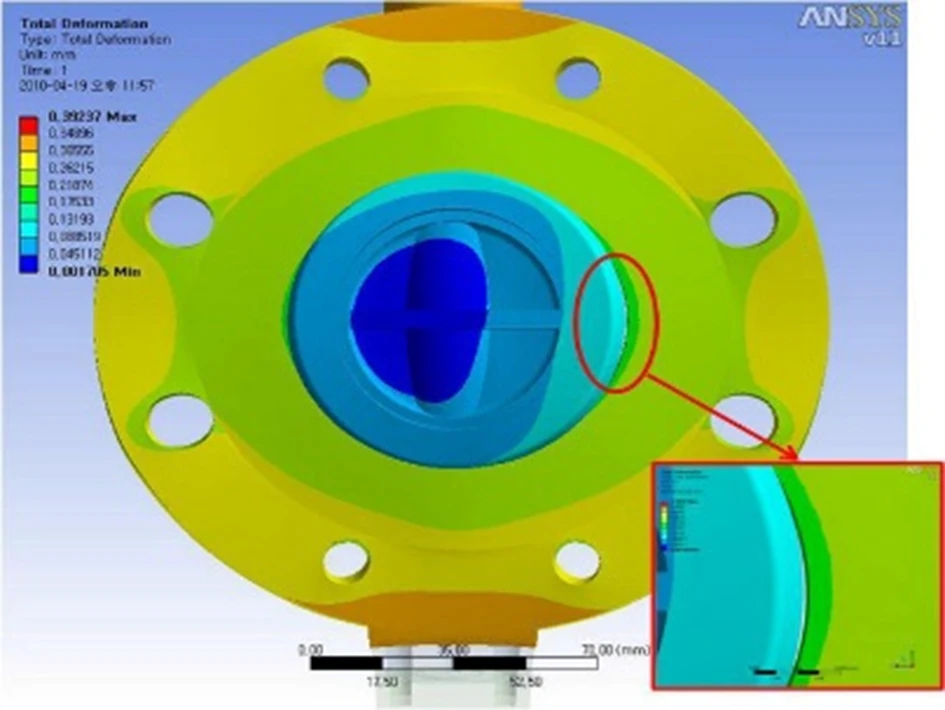
Design
▷ Spec. Review
▷ Design Verification
STEP 2
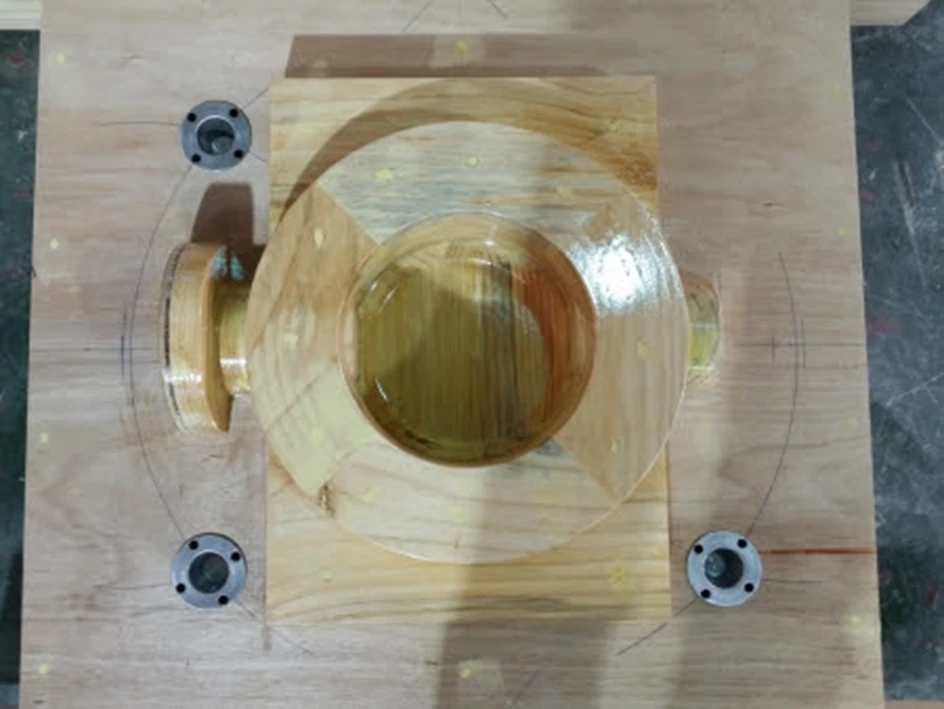
Wooden mold production
▷ Casting Plan Integration
▷ Dimensional Check
STEP 3
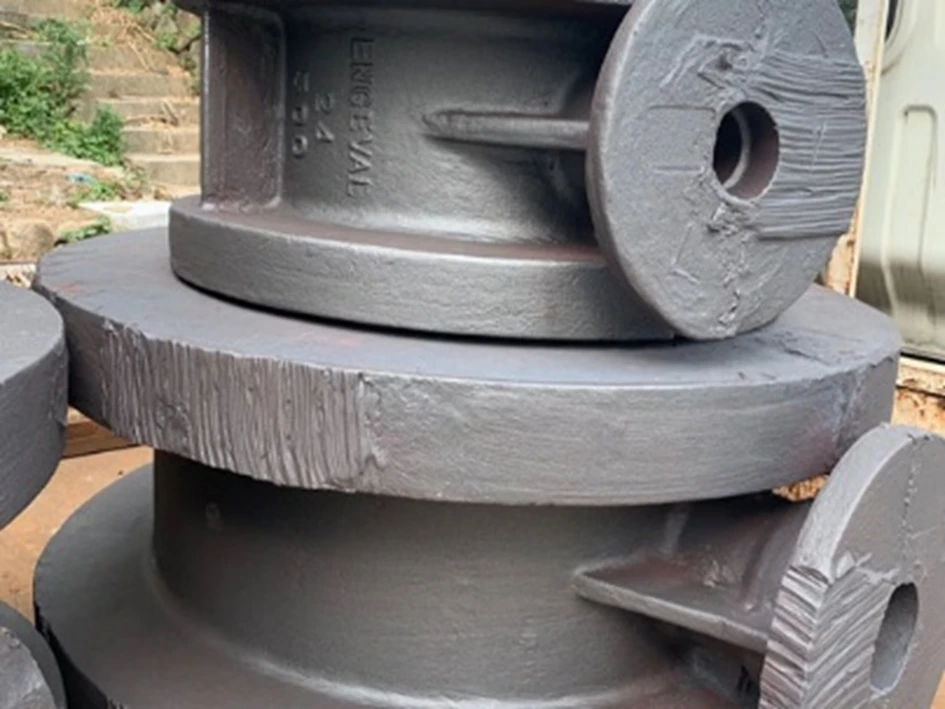
Casting
▷ Accurate Composition Analysis
▷ Gouging and Post-Processing Work
STEP 4
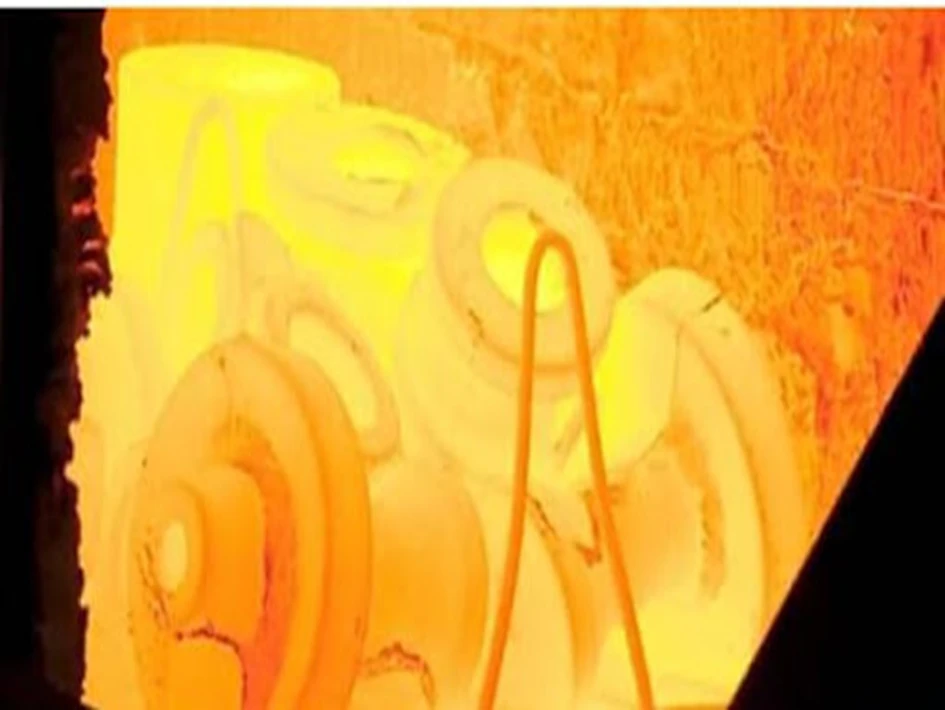
Heat Treatment
▷ Compliance with Heat Treatment Temperature
▷ Shot Blasting & Pickling After Heat Treatment
STEP 5
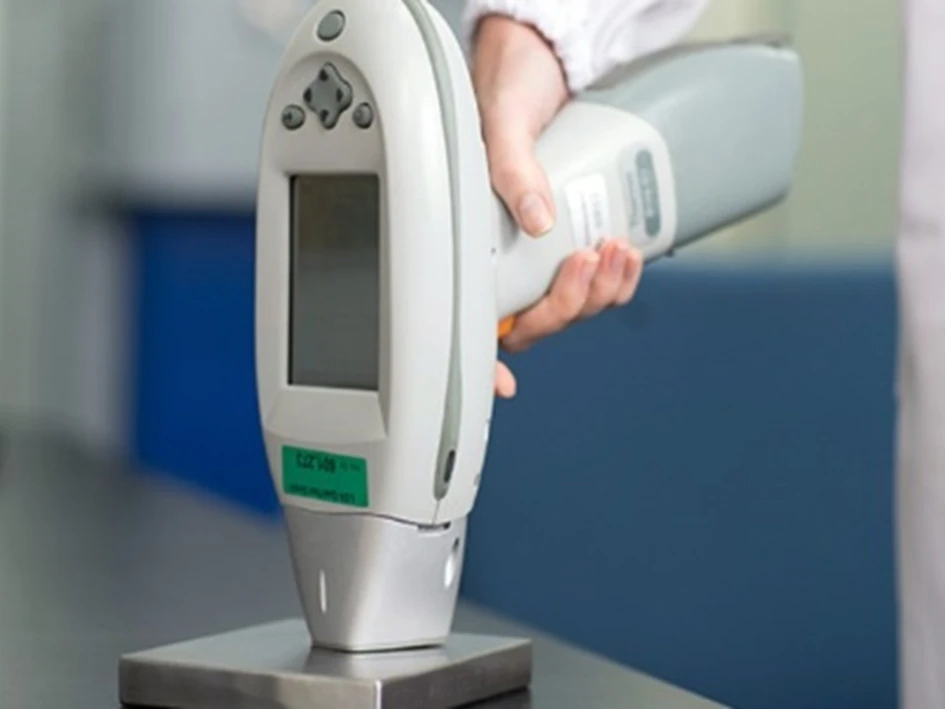
PMI
▷ Positive Material Identification
▷ Visual, Dimension, Marking etc.
STEP 6
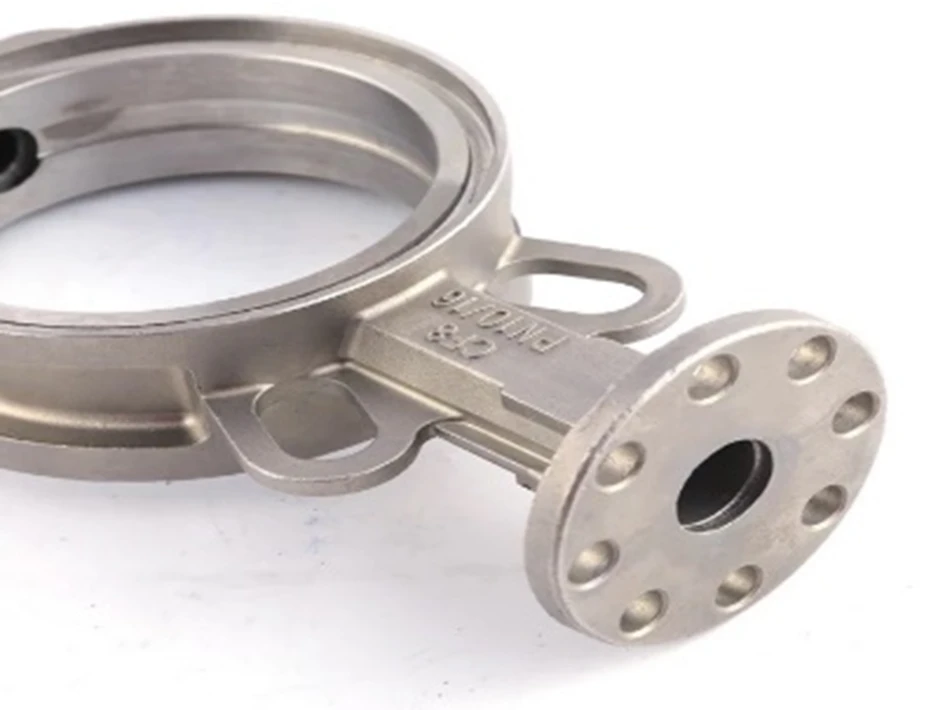
Machining
▷ Adherence to Work Guidelines
▷ Tolerance Management
STEP 7
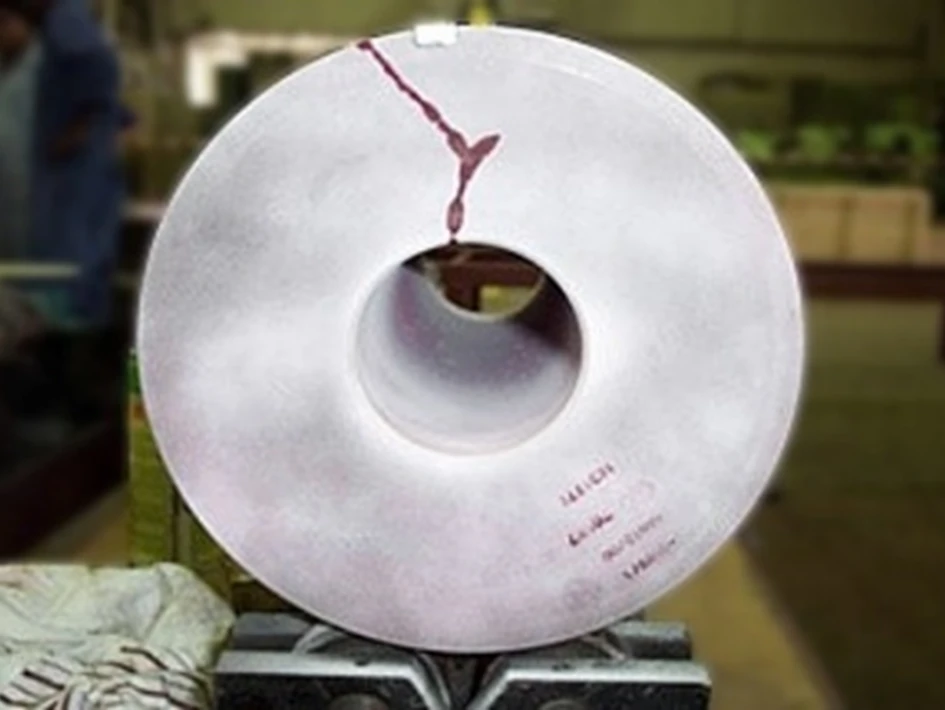
Non-Destructive Testing
▷ Magnetic particle test
▷ Liquid penetrant test
STEP 8
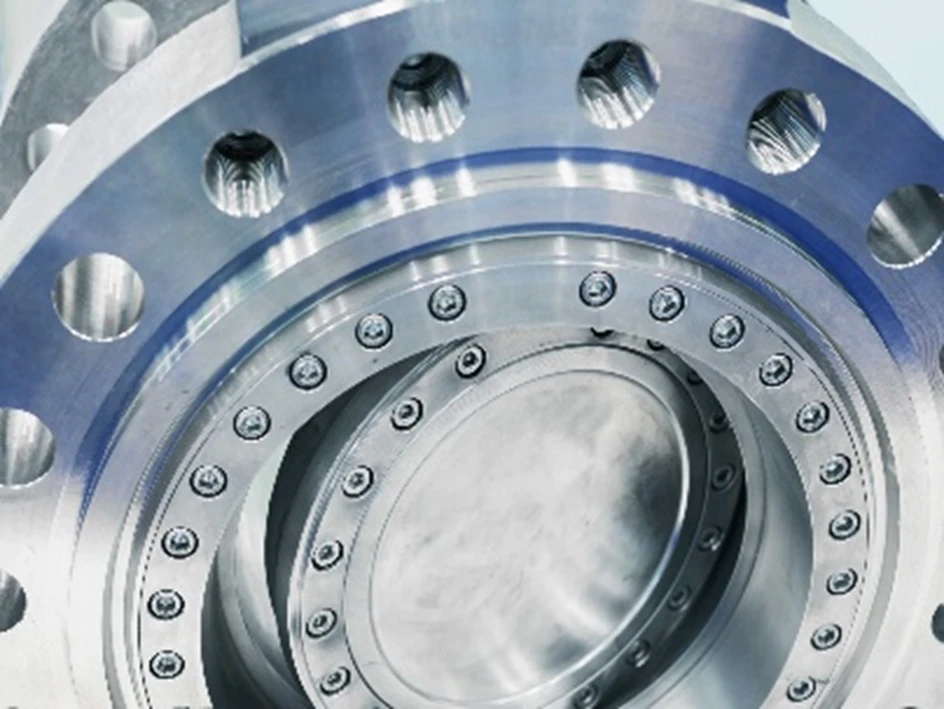
Assembly
▷ Compliance with Assembly Guidelines
▷ Operation Check
STEP 9
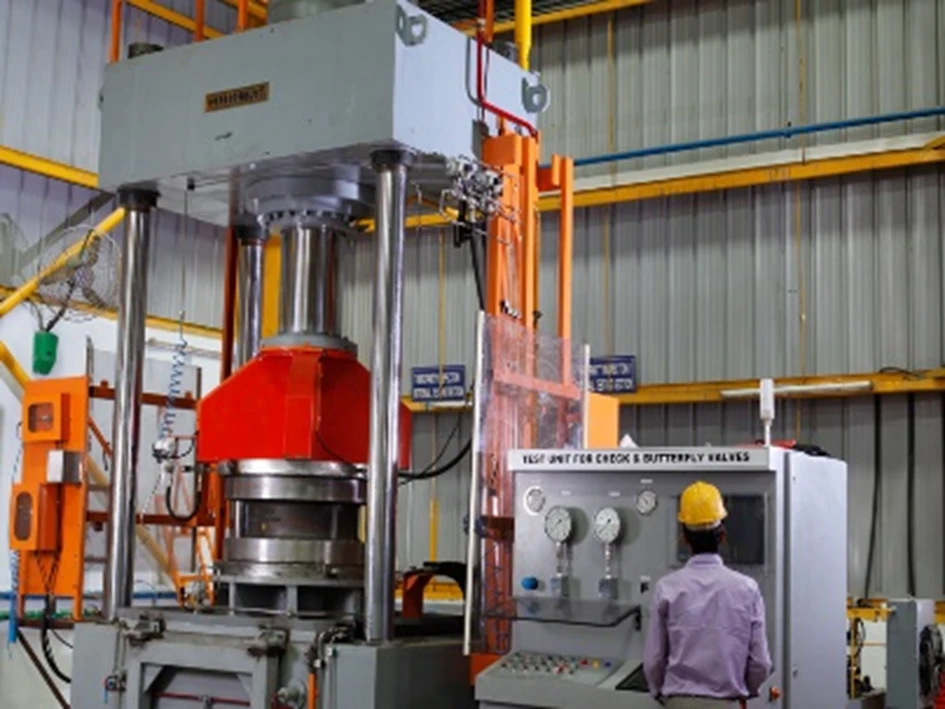
Inspection
▷ Performance Verification
▷ Quality Assurance
STEP 10
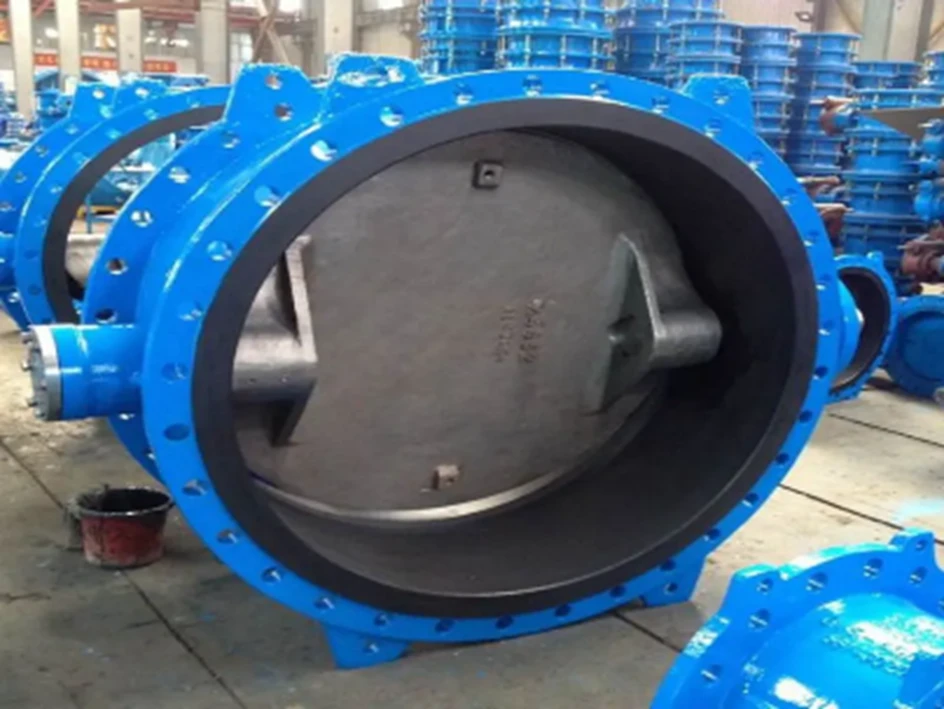
Painting
▷ Compliance with Painting Specifications
▷ Color & D.F.T (Dry Film Thickness) Verification
STEP 11
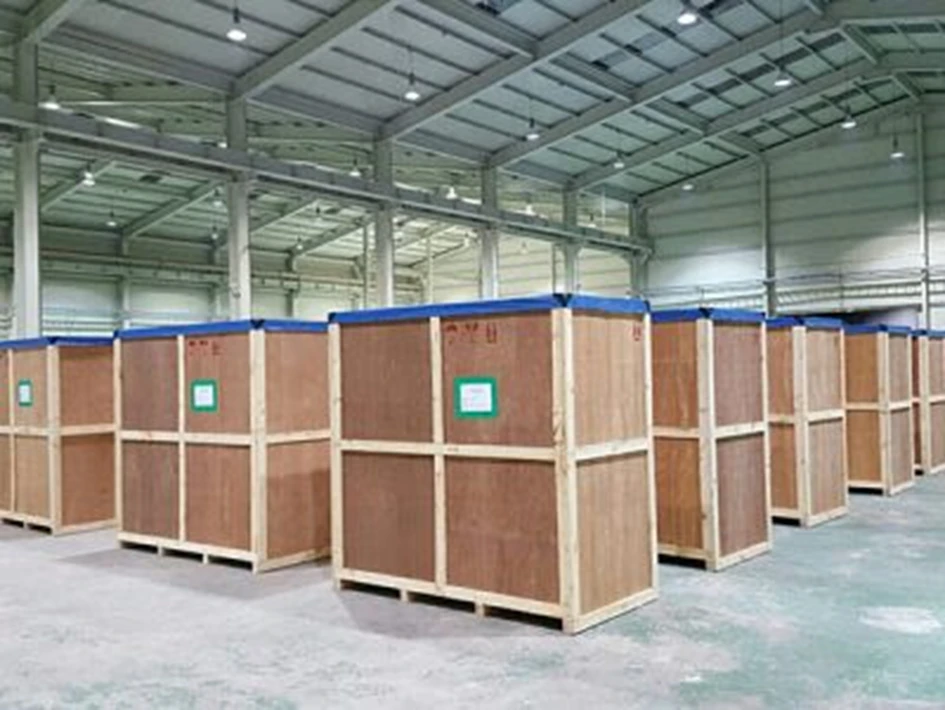
Packaging
▷ Compliance with Packing Specifications
▷ Damage-Prevention Packaging
STEP 12
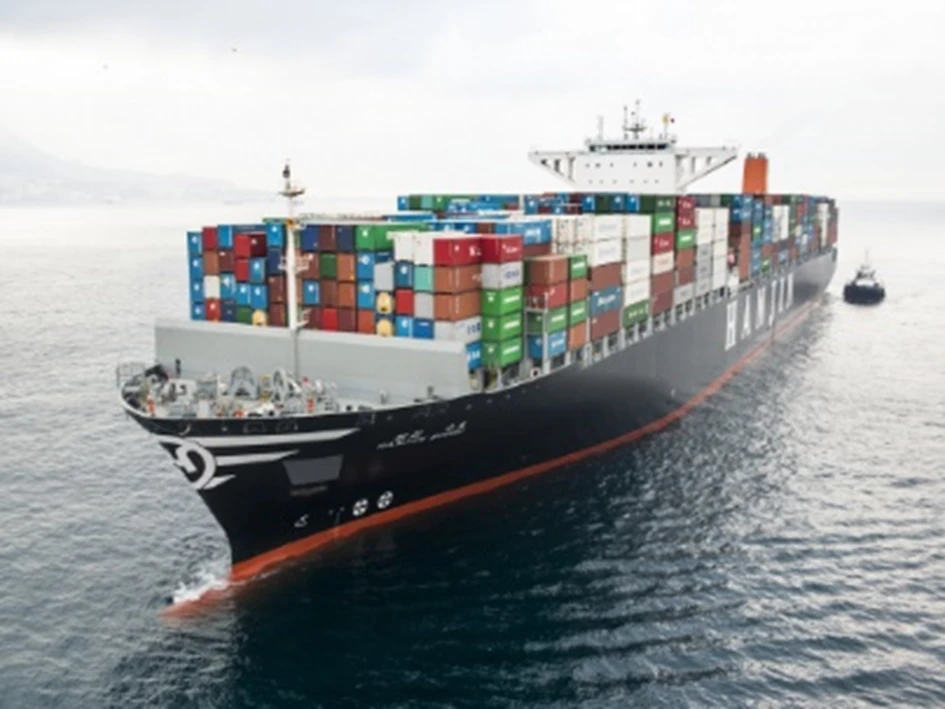
Delivery
▷ Delivery on the Requested Delivery Date
